You might be wondering, why am I still talking about xnx gas detector calibration 2020? Well, even though the year has passed, the principles for calibrating the Honeywell XNX Universal Transmitter are more important than ever. An improperly calibrated gas detector isn’t just a malfunctioning tool—it’s a serious safety risk.
It can fail to detect hazardous conditions, leading to catastrophic accidents.
I know, it sounds intense. But trust me, this guide will break down the entire calibration process. From understanding the ‘why’ to executing the ‘how’ step-by-step.
This isn’t just some random advice; it’s based on established safety protocols and manufacturer best practices. So, you can be sure the information is reliable and accurate for maintaining compliance and safety.
Proper calibration is the single most important maintenance task to ensure your gas detection system works as it should. Let’s dive in and make sure you’re covered.
The Fundamentals: Bump Test vs. Full Calibration
Let’s get one thing straight: calibration in the context of gas detectors is all about making sure your sensor is spot on. It’s the process of adjusting the sensor’s response to a known concentration of target gas, ensuring its readings are accurate.
Why does this matter, and well, think about it. If your gas detector isn’t calibrated, you might as well be using a broken compass.
You need to know that when it says there’s a gas leak, there really is one.
Now, here’s where things can get a bit confusing. A bump test and a full calibration are two different things. A bump test is like a quick health check.
It’s a qualitative check to confirm that the sensors and alarms are working. On the other hand, a full calibration is a more thorough, quantitative adjustment to ensure the accuracy of the readings.
So, why go through the trouble of calibrating? Simple, and sensors drift.
Over time, due to environmental factors, chemical exposure, or just plain old age, a sensor’s accuracy naturally degrades. This is called “sensor drift.”
To keep your gas detector reliable, you need to calibrate it regularly. There are two essential reference points for any calibration: the ‘zero point’ and the ‘span point.’ The zero point is like setting your watch to the correct time when it’s 12:00 midnight. You’re calibrating to clean air with no target gas.
The span point is like setting your watch to the correct time at noon. You’re calibrating to a certified concentration of gas.
- Zero Point: Calibrating to clean air with no target gas.
- Span Point: Calibrating to a certified concentration of gas.
Think of it this way: if your watch is off by a few minutes, it’s not a big deal. But if it’s off by hours, you’ll miss important meetings. Similarly, if your gas detector is off, you could be missing critical safety alerts.
By keeping your xnx gas detector calibration 2020 up to date, you ensure that your equipment remains a reliable tool. This means you can trust the readings, which in turn keeps your environment safe and compliant.
A Step-by-Step Guide to Calibrating the Honeywell XNX Transmitter
Before we dive in, let’s get one thing straight: a well-calibrated gas detector can save lives. That’s what’s in it for you. It ensures your equipment is reliable and accurate, which is crucial in any industrial setting.
First things first, gather your tools. You’ll need a certified cylinder of the correct calibration gas, a fixed-flow regulator (like 0.5 LPM), tubing, the XNX calibration cup adapter, and the magnetic wand.
Preparation and Safety, and make sure the area is non-hazardous. Notify the necessary personnel about the calibration process.
Inhibit any alarms that might go off during the procedure. This step is all about safety and making sure you don’t accidentally trigger a false alarm.
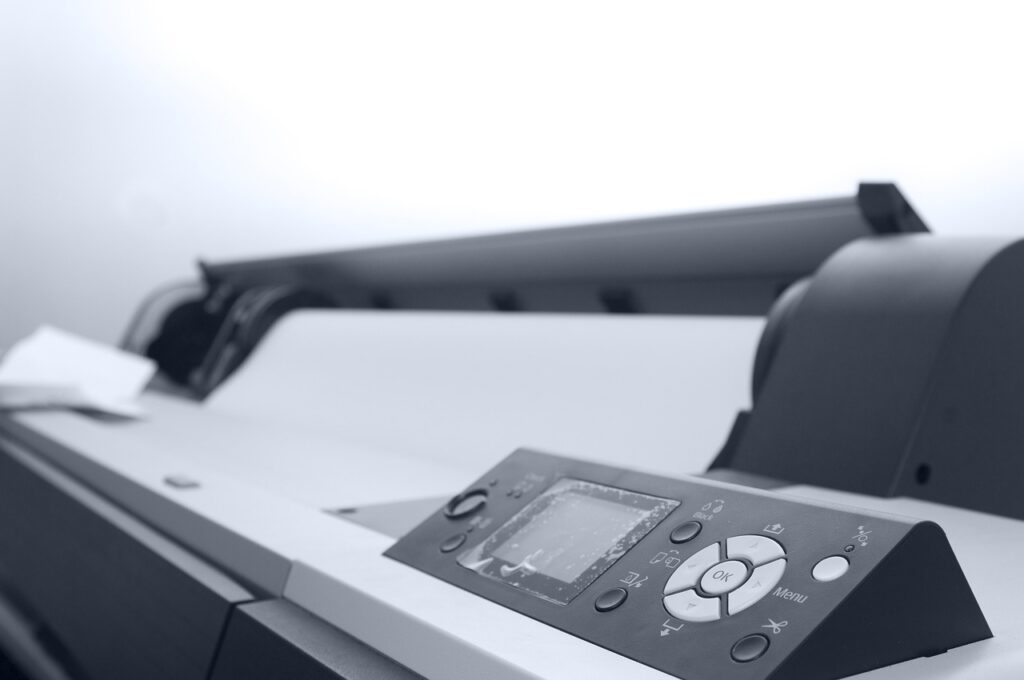
Entering Calibration Mode. Use the magnetic wand to navigate the XNX display menu. Find the calibration settings for your specific sensor.
It’s like using a TV remote, but for your gas detector. Easy, right?
Performing the Zero, and initiate the zero calibration. Expose the sensor to clean, uncontaminated air. xnx gas detector calibration 2020
This sets your baseline. Think of it as hitting the reset button on your device.
Applying the Span Gas, and securely attach the calibration cup. Connect the tubing and apply the span gas at the correct flow rate.
Wait for the on-screen reading to stabilize, and patience is key here.
Confirming and Exiting. Once the reading is stable, accept the new span value. Save the calibration.
Let the device return to normal monitoring mode.
By following these steps, you ensure your XNX gas detector calibration 2020 is spot-on. This means more accurate readings, better safety, and peace of mind. Trust me, it’s worth the effort.
Common Calibration Mistakes and How to Avoid Them

I’ve been there. You think you’re doing everything right, but something still goes wrong. Let’s dive into some common calibration mistakes and how to avoid them.
Using expired calibration gas, and it’s a rookie mistake, but it happens. The gas mixture inside a cylinder can degrade or stratify over time.
Always check the expiration date. Trust me, I learned this the hard way with an xnx gas detector calibration 2020. The readings were off, and it cost me a lot of time and frustration.
Incorrect gas flow rate, and this one is a bit trickier. Using the wrong regulator or a flow rate that’s too high or too low can flood or starve the sensor.
Result, and a failed or incorrect calibration. I once had a sensor go haywire because I was in a rush and didn’t set the flow rate correctly.
Not allowing readings to stabilize, and patience is key. Cutting the process short before the sensor’s reading has fully stabilized is a common cause of inaccurate results.
I’ve seen people get antsy and move on too quickly. Don’t do it, and wait for the reading to settle.
Ignoring sensor faults or end-of-life warnings. Calibration can’t fix a failing or expired sensor. If the device displays a sensor fault, it must be investigated and likely replaced before calibration.
I once ignored a warning, thinking it was just a glitch. Big mistake. The sensor was indeed failing, and my readings were all over the place.
Pro tip: Always perform a bump test after a successful calibration. It’s like a final check to make sure the device is responding correctly. Better safe than sorry, right?
Frequently Asked Questions About XNX Detector Calibration
FAQ 1: How often should an XNX detector be calibrated?
Answer: Follow your company’s specific safety policy and manufacturer recommendations, which is typically every 90 to 180 days.
FAQ 2: What does a ‘Cal Fault’ message mean?
Answer: It indicates the calibration failed. This could be due to bad gas, incorrect flow, or a faulty sensor.
Re-check your setup and equipment.
FAQ 3: Can I use a different brand of calibration gas?
Answer: Yes, as long as the gas concentration, balance gas, and cylinder type are correct for the sensor you are calibrating. The certification is what matters.
xnx gas detector calibration 2020 is a critical process. Consistent and correct calibration is not just a procedural task but a critical pillar of a facility’s safety program. It ensures your gas detection system is a reliable line of defense.
 Thomas Salasticsen has opinions about esports insights and analysis. Informed ones, backed by real experience — but opinions nonetheless, and they doesn't try to disguise them as neutral observation. They thinks a lot of what gets written about Esports Insights and Analysis, Game Reviews and Ratings, Upcoming Tournaments and Events is either too cautious to be useful or too confident to be credible, and they's work tends to sit deliberately in the space between those two failure modes.
Reading Thomas's pieces, you get the sense of someone who has thought about this stuff seriously and arrived at actual conclusions — not just collected a range of perspectives and declined to pick one. That can be uncomfortable when they lands on something you disagree with. It's also why the writing is worth engaging with. Thomas isn't interested in telling people what they want to hear. They is interested in telling them what they actually thinks, with enough reasoning behind it that you can push back if you want to. That kind of intellectual honesty is rarer than it should be.
What Thomas is best at is the moment when a familiar topic reveals something unexpected — when the conventional wisdom turns out to be slightly off, or when a small shift in framing changes everything. They finds those moments consistently, which is why they's work tends to generate real discussion rather than just passive agreement.
Thomas Salasticsen has opinions about esports insights and analysis. Informed ones, backed by real experience — but opinions nonetheless, and they doesn't try to disguise them as neutral observation. They thinks a lot of what gets written about Esports Insights and Analysis, Game Reviews and Ratings, Upcoming Tournaments and Events is either too cautious to be useful or too confident to be credible, and they's work tends to sit deliberately in the space between those two failure modes.
Reading Thomas's pieces, you get the sense of someone who has thought about this stuff seriously and arrived at actual conclusions — not just collected a range of perspectives and declined to pick one. That can be uncomfortable when they lands on something you disagree with. It's also why the writing is worth engaging with. Thomas isn't interested in telling people what they want to hear. They is interested in telling them what they actually thinks, with enough reasoning behind it that you can push back if you want to. That kind of intellectual honesty is rarer than it should be.
What Thomas is best at is the moment when a familiar topic reveals something unexpected — when the conventional wisdom turns out to be slightly off, or when a small shift in framing changes everything. They finds those moments consistently, which is why they's work tends to generate real discussion rather than just passive agreement.